
Can a garden hose freeze and burst? Yes, absolutely. Water expands when it freezes, and this expansion can exert immense pressure on the inside of your garden hose, leading to cracks and ruptures that render it unusable. This guide will walk you through the essential steps and best practices for winterizing garden hose systems, ensuring your hose survives the cold months and remains ready for spring.
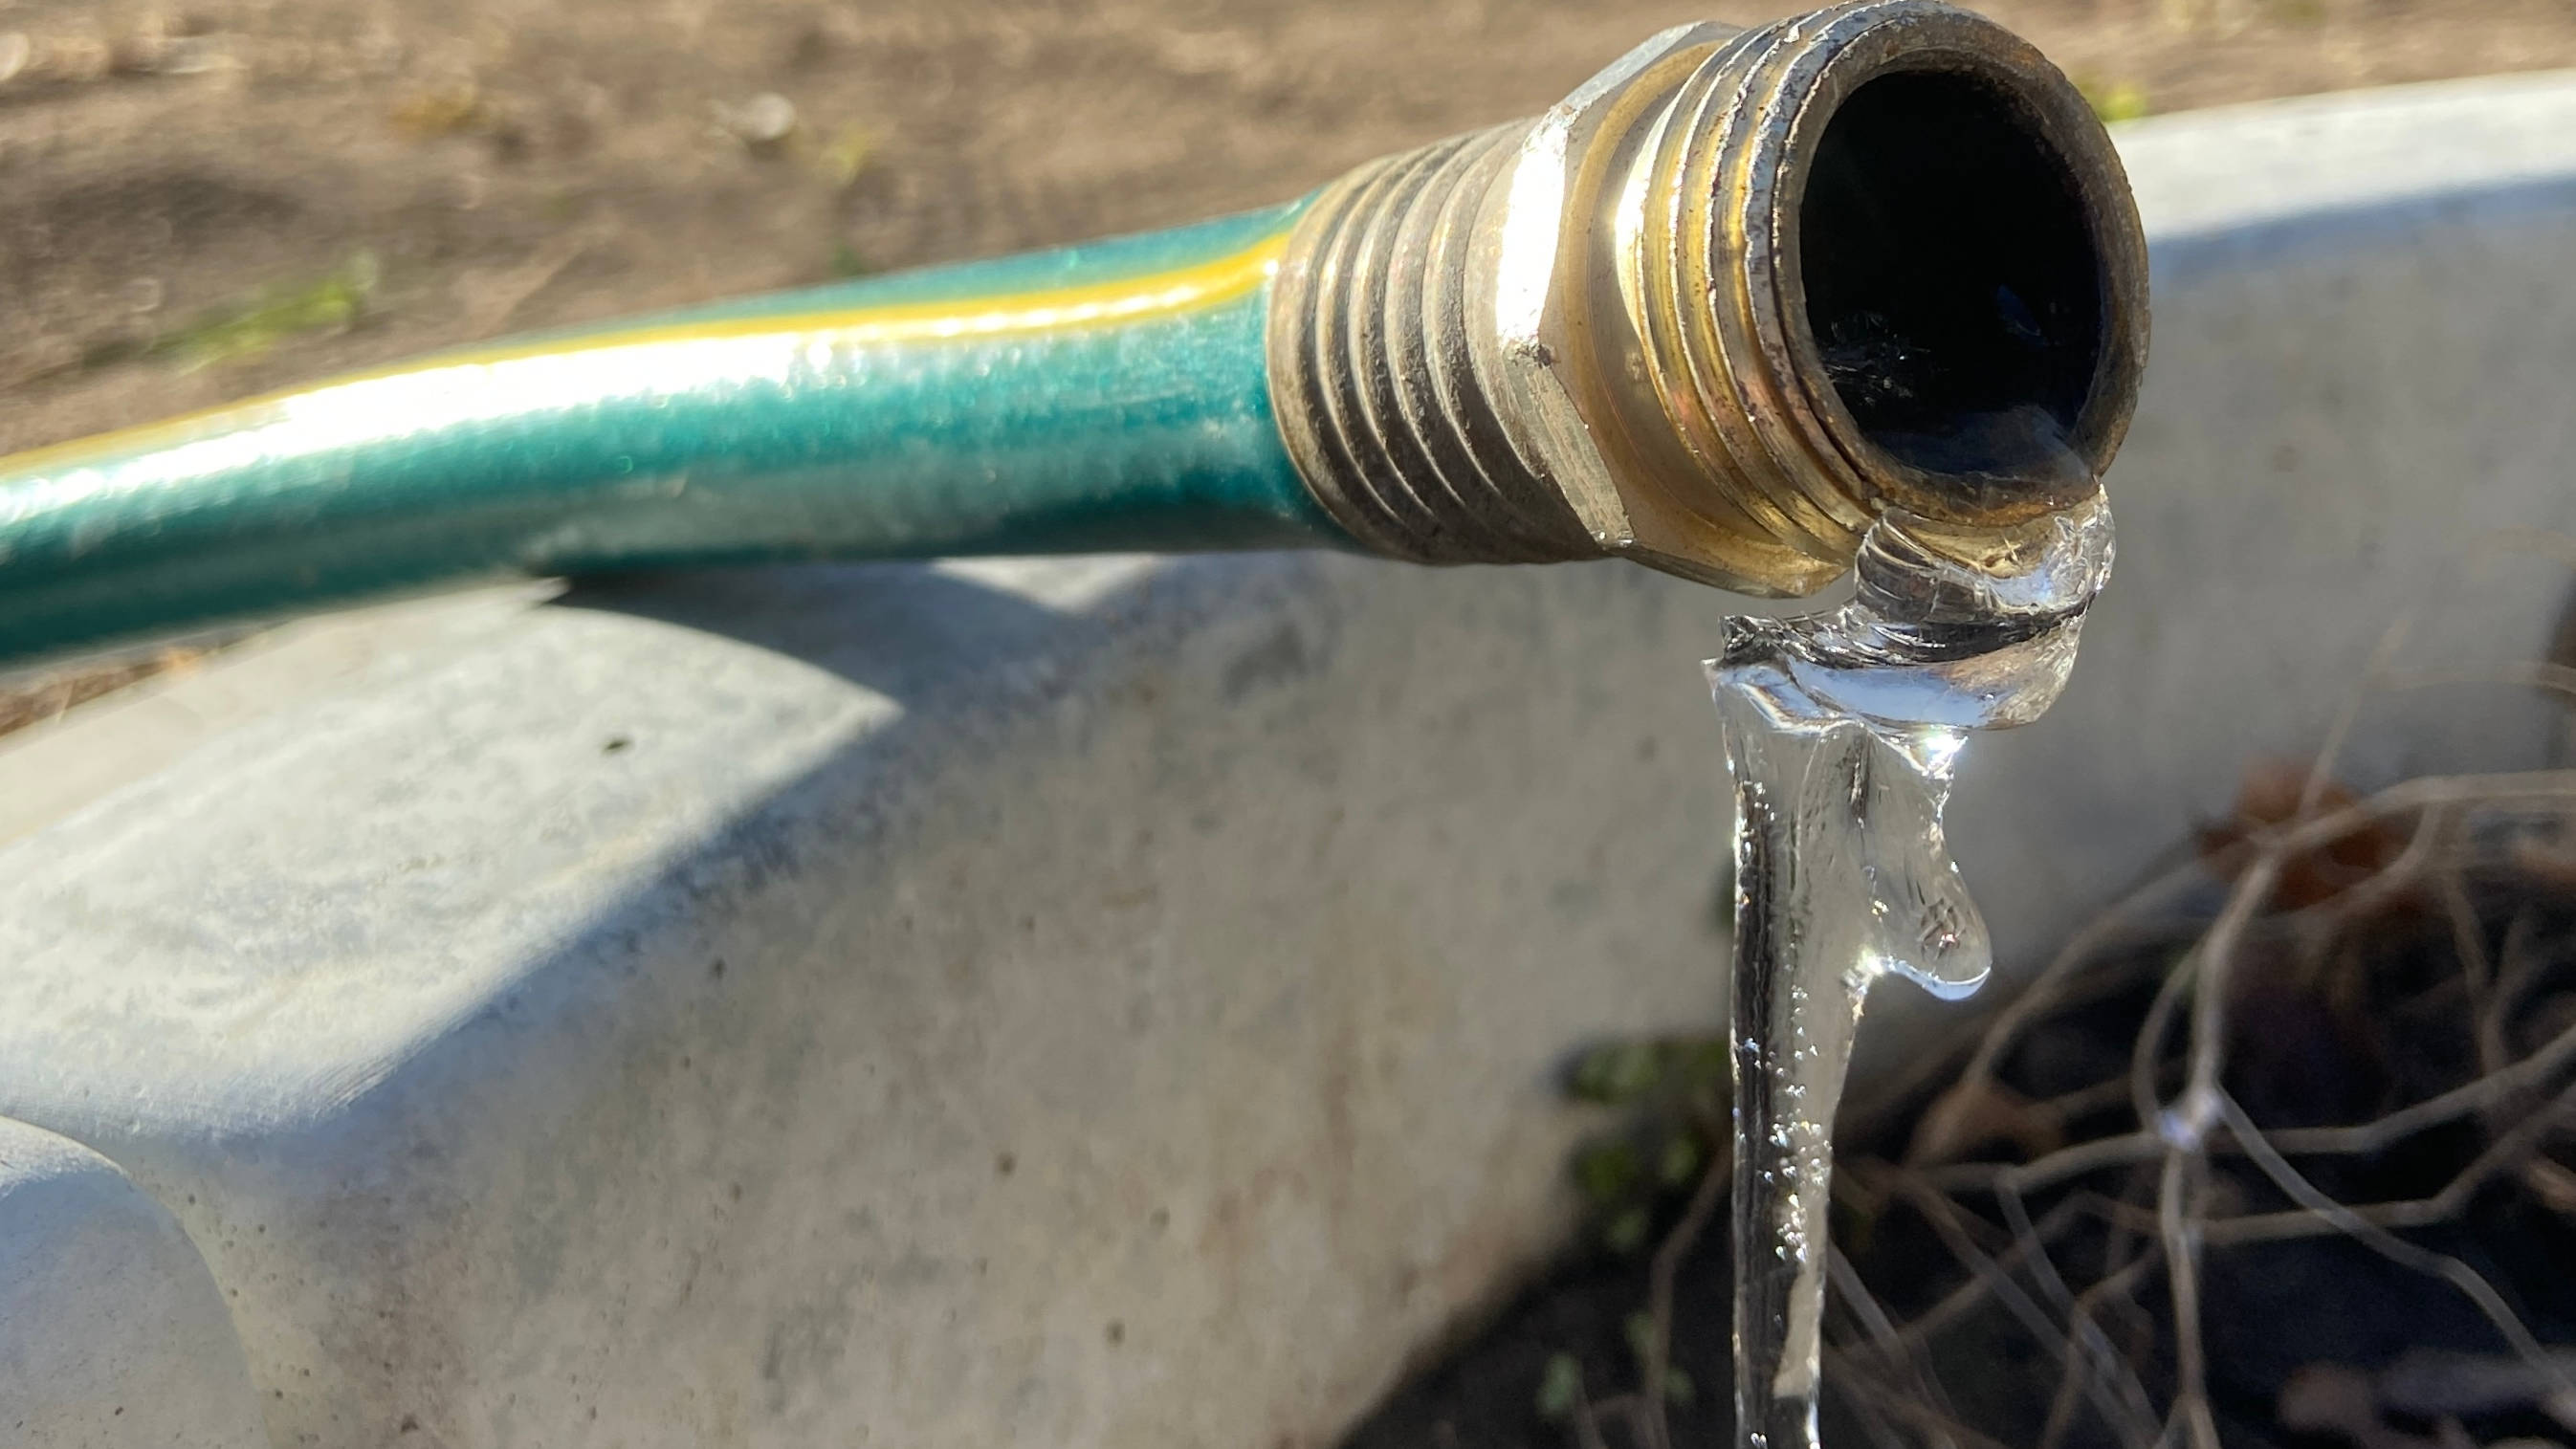
Image Source: cdn.mos.cms.futurecdn.net
Why Protecting Your Garden Hose from Frost is Crucial
Winter is coming, and with it, the threat of freezing temperatures. Your trusty garden hose, so vital for keeping your plants hydrated and your outdoor spaces clean, is particularly vulnerable to the damaging effects of frost. Ignoring its protection can lead to frustrating and costly repairs or replacements. Properly draining garden hose and implementing a few simple preventative measures are key to preventing hose burst in winter.
The Science of Freezing
When water freezes, its molecules arrange themselves into a crystalline structure. This structure takes up more space than liquid water. Think of it like packing more items into a box – the box needs to be bigger, or the items will push outward. For your garden hose, this outward push translates into significant internal pressure.
Consequences of Neglect
- Bursting: The most common and severe consequence is the hose itself bursting. This usually happens in multiple places, creating large, irreparable holes.
- Cracking: Even if the hose doesn’t completely burst, freezing can cause micro-cracks to form along its length. These cracks can weaken the hose and lead to leaks later on.
- Damage to Attachments: Faucets, nozzles, and couplings can also be damaged by freezing water if they are not properly disconnected and drained.
- Reduced Lifespan: Repeated freezing and thawing cycles significantly shorten the overall lifespan of your garden hose.
Steps for Effective Winterizing Garden Hose
The process of preparing your garden hose for winter is straightforward but requires attention to detail. The primary goal is to remove all water from the hose and any connected fixtures.
1. Disconnecting Garden Hose from the Spigot
This is the very first and most critical step.
- Locate the Spigot: Identify the outdoor faucet to which your garden hose is attached.
- Turn Off the Water Supply: Go inside your house and locate the shut-off valve for that specific outdoor faucet. These are often found in basements or crawl spaces. Turn the valve clockwise until it stops.
- Open the Outdoor Faucet: Go back outside and turn on the outdoor faucet handle. This will allow any residual water in the pipes leading to the faucet to drain out. Leave the faucet open.
- Remove the Hose: Unscrew the garden hose from the spigot. It’s best to do this by gripping the hose connector, not the hose itself, to avoid stressing the hose material.
Why is this important? Leaving the hose connected means that even if you drain the hose, water can still be trapped in the faucet and the short pipe leading to it. When this water freezes, it can crack the faucet or the pipe inside your wall.
2. Draining Garden Hose Thoroughly
This is the heart of the winterizing garden hose process. Every drop of water needs to be removed.
Methods for Draining:
-
Gravity Method:
- Lay the Hose Flat: Spread the hose out on a surface that slopes downwards, such as a driveway or a gentle grassy incline.
- Lift and Drag: Start at the end furthest from the faucet (the nozzle end). Lift the hose end and walk along its length, dragging the end downhill. This action forces the water out.
- Repeat: Work your way back and forth along the hose, lifting and dragging it to ensure all water is expelled. Pay attention to any kinks or low spots where water might collect.
-
Using a Siphon or Air Compressor (Advanced):
- Siphon: You can use a small submersible pump or a siphon to actively draw water out of the hose.
- Air Compressor: For a more thorough job, you can use an air compressor with a suitable nozzle attachment. Connect it to one end of the hose (preferably the spigot end if possible, or the nozzle end if the spigot end is inaccessible) and gently blow air through it. This forces out any remaining moisture. Caution: Use low pressure to avoid damaging the hose.
Checking for Completeness:
- Visual Inspection: After draining, try to see if any water is still visible inside the hose.
- Shake it Out: Lift sections of the hose and shake them to dislodge any trapped water.
3. Preparing Hose Attachments
Don’t forget the other parts of your hose system.
- Nozzles and Sprinklers: Unscrew any nozzles, sprinklers, or spray guns from the hose. Empty them of water and store them indoors.
- Hose Reels: If you use a hose reel, ensure it is also drained of any water. Some reels have internal mechanisms that can trap water.
4. Storing Garden Hose for Winter
Proper storing garden hose for winter is key to its longevity and protection from the elements.
Storage Options:
-
Hose Reels:
- Wind the drained hose onto a hose reel.
- Advantages: Keeps the hose tidy, prevents kinks, and makes it easier to deploy in spring.
- Considerations: Ensure the reel itself is kept in a frost-free location.
-
Hose Coils:
- Coil the hose neatly, ideally in a loop that doesn’t create sharp bends.
- Advantages: Simple and requires no special equipment.
- Considerations: Avoid tight coils that can stress the hose material.
-
Hanging:
- Hang the hose on a sturdy hose hanger or bracket mounted on a wall.
- Advantages: Keeps the hose off the ground and allows for good air circulation.
- Considerations: Ensure the hanger supports the weight without creating kinks.
Ideal Storage Locations:
- Garage: A garage is an excellent choice as it’s typically dry and protected from the elements.
- Shed: Similar to a garage, a shed offers good protection.
- Basement: A basement is also a suitable indoor storage location.
- Outdoor Storage (with precautions): If indoor storage isn’t feasible, you can store the hose outdoors, but with extra precautions.
5. Covering Garden Hose for Winter (If Stored Outdoors)
If you must store your hose outside, it needs extra protection.
- Heavy-Duty Tarpaulin: Drape a thick, waterproof tarp over the coiled or hung hose.
- Burlap Sack: A burlap sack can provide a layer of protection and allow some air circulation.
- Protective Wrap: You can also wrap the hose in heavy-duty plastic sheeting or even old blankets.
Why cover? This helps shield the hose from direct sunlight (which can degrade rubber and plastic), moisture, and extreme temperature fluctuations, further aiding in protecting garden hose from frost.
Advanced Techniques for Protecting Garden Hose from Frost
Beyond the basic draining and storage, a few extra steps can offer enhanced protection.
1. Insulated Garden Hose Storage
For those in particularly harsh climates or who want the ultimate protection, consider specialized insulated storage.
- DIY Insulation: You can create your own insulated storage by placing the coiled hose inside a large plastic bin and filling the bin with insulating material like straw, old blankets, or even foam packing peanuts. Ensure the bin is watertight.
- Commercial Insulated Covers: While less common for standard garden hoses, some manufacturers offer insulated covers for outdoor spigots that might extend to protect a short length of hose connected to it if you choose not to disconnect. However, full disconnection is always recommended.
2. Utilizing Frost-Proof Spigots
If you have outdoor faucets that are prone to freezing, consider upgrading to frost-proof sillcocks.
- How They Work: These faucets are designed so that the actual valve mechanism is located further inside your home, beyond the exterior wall. This means the water inside the faucet body drains away when you turn it off, preventing freezing within the faucet itself.
- Benefit for Hoses: Even with a frost-proof spigot, it’s still essential to disconnect your hose. However, the risk of the faucet itself bursting is significantly reduced, making the overall system more resilient.
3. Draining Irrigation Systems
If you have an extensive irrigation system with hoses, ensure all components are properly drained.
- Blow Out Systems: Many professional irrigation systems are “blown out” with compressed air to remove all water. If you have a similar setup, ensure this process is done for any hoses connected.
- Check Drip Lines: Even small drip hoses can hold water and freeze, so ensure they are also drained or disconnected if necessary.
What About Hoses Left Connected?
While we strongly advise against it, if you absolutely must leave a hose connected (which we do not recommend for garden hose care in cold weather), here are some minimal precautions. These are not as effective as proper winterizing.
1. Disconnect the Hose from the Spigot (Still Essential!)
Even if you don’t drain the entire hose, always disconnecting garden hose from the spigot. This allows water within the faucet to drain.
2. Drain the Hose as Much as Possible
If you cannot fully coil and store the hose, drain it as thoroughly as you can by lifting and dragging.
3. Insulate the Spigot and Hose Connection
- Faucet Covers: Use commercially available insulated faucet covers.
- Wrap with Blankets/Towels: Wrap the faucet and the first few feet of the hose connection with old blankets, towels, or fiberglass insulation. Secure them tightly with tape or rope.
Important Caveat: These measures are a last resort. They offer minimal protection against a hard freeze and significantly increase the risk of damage compared to proper winterizing.
Choosing the Right Garden Hose for Cold Climates
The material of your garden hose plays a role in its susceptibility to freezing and cracking.
Material Considerations:
- Rubber Hoses: Generally more durable and flexible in cold weather compared to vinyl. They tend to be heavier but offer better resistance to kinks and cracks.
- Vinyl Hoses: More affordable but can become stiff and brittle in cold temperatures. They are more prone to cracking and splitting if left outdoors during freezes.
- Hybrid/Composite Hoses: Often offer a good balance of flexibility and durability, but check the manufacturer’s specifications for cold weather performance.
Features to Look For:
- Kink Resistance: A hose that is resistant to kinking will be less likely to trap water in tight bends where it can freeze and cause damage.
- Burst Strength: Look for hoses with a higher burst pressure rating, indicating a stronger construction.
Maintaining Your Hose Year-Round
Good garden hose care in cold weather is part of a larger picture of year-round maintenance.
Spring Reawakening:
- Inspect for Damage: Before reconnecting your hose in the spring, carefully inspect it for any cracks, bulges, or signs of wear from winter storage.
- Check Attachments: Ensure nozzles and connectors are clean and free of debris.
- Reconnect Carefully: Screw the hose back onto the spigot, ensuring a tight seal.
- Turn on Water Slowly: Open the interior shut-off valve slowly and check for leaks at the connection.
Summer Use:
- Avoid Kinks: Always use the hose in a way that minimizes kinks.
- Don’t Leave Under Pressure: After use, turn off the water at the spigot and ideally release pressure from the hose by opening the nozzle briefly.
- Store Out of Direct Sunlight: Prolonged exposure to UV rays can degrade hose materials. Coil or hang it when not in use.
Frequently Asked Questions (FAQ)
Q1: Do I need to disconnect my garden hose in freezing temperatures?
A1: Yes, it is absolutely essential to disconnect your garden hose from the spigot before freezing temperatures arrive. Leaving it connected can lead to water freezing inside the faucet and pipes, causing them to burst.
Q2: What happens if I leave water in my garden hose during winter?
A2: When water freezes, it expands. This expansion creates immense pressure inside the hose, which can cause it to crack, split, or burst. This damage can be extensive and irreparable.
Q3: Can I store my garden hose outside during winter?
A3: While it’s best to store your hose indoors in a garage or shed, you can store it outside with proper precautions. Ensure it is completely drained, coiled neatly, and covered with a waterproof tarp or protective material to shield it from the elements.
Q4: How do I make sure all the water is out of my hose?
A4: The best way is to lay the hose out on a downward slope. Start at one end and lift it, walking along its length to push all the water out. You can also shake sections of the hose to dislodge trapped moisture. For a more thorough job, compressed air can be used at low pressure.
Q5: Is it okay to leave a frost-proof spigot connected to a hose in winter?
A5: No. While frost-proof spigots are more resilient, leaving a hose connected can still trap water in the spout or nozzle. Always disconnect the hose to prevent any potential damage to the spigot or your plumbing.
Q6: What is the best material for a garden hose in cold weather?
A6: Rubber hoses tend to perform better in cold weather than vinyl hoses. They remain more flexible and are less prone to cracking or becoming brittle in freezing temperatures.
By following these steps for winterizing garden hose systems, you can significantly extend the life of your equipment and ensure you have a functional hose ready to go when spring arrives, preventing the costly and frustrating issue of a burst hose. Prioritizing proper draining garden hose and secure storing garden hose for winter are the cornerstones of effective garden hose care in cold weather.