
Do you need sand to level your lawn? Yes, sand is an excellent material for leveling a lawn, particularly for addressing minor dips and low spots. The amount of sand you’ll need depends entirely on the size of the area you’re working on and the depth of the unevenness. This guide will help you figure out precisely how much lawn leveling sand you should buy and how to apply it effectively.
A beautifully flat lawn is the envy of the neighborhood, but uneven terrain can be a persistent frustration. Whether it’s from soil settling, drainage issues, or just the natural wear and tear of a backyard, dips and bumps can create tripping hazards and make mowing a chore. Fortunately, sand for lawn repair is a simple and effective solution to achieve that smooth, even surface. This comprehensive guide will walk you through everything you need to know, from choosing the right type of sand to calculating sand quantity for lawn and the best methods for applying sand to lawn.
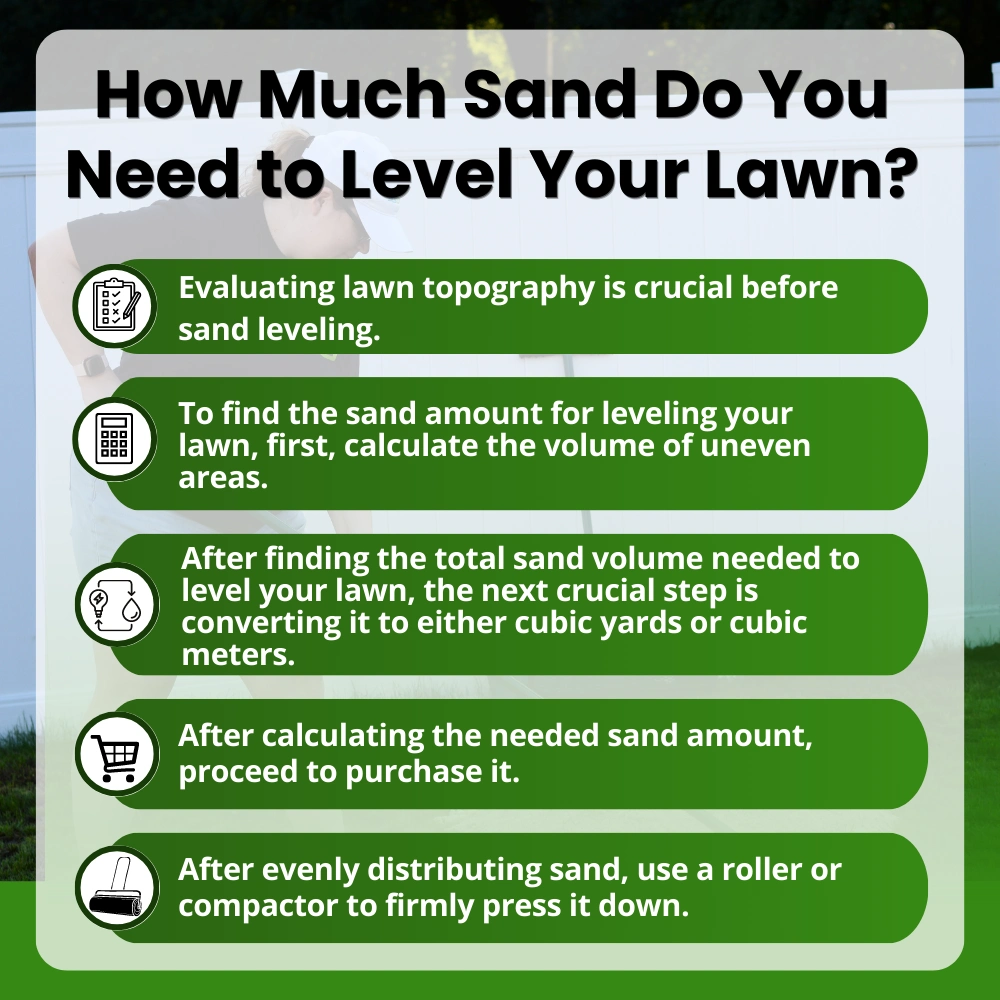
Image Source: landzie.com
Why Level Your Lawn?
Before we dive into the nitty-gritty of sand calculations, let’s quickly touch on why a level lawn is so desirable:
- Improved Aesthetics: A flat lawn looks much more appealing and well-maintained.
- Safer Play: It reduces the risk of tripping for children and adults.
- Easier Maintenance: Mowing becomes simpler and more efficient.
- Better Water Drainage: Uneven surfaces can lead to pooling water, which can encourage disease and pest problems.
- Healthier Grass Growth: Consistent soil depth allows grass roots to establish more uniformly.
Choosing the Right Sand: The Foundation of Success
Not all sand is created equal when it comes to lawn care. Using the wrong type can actually do more harm than good.
What is the Best Sand for Lawn Leveling?
The best sand for lawn leveling is typically a coarse, washed sand. This is often referred to as “horticultural sand,” “concrete sand,” or “construction sand.”
Key Characteristics of Good Lawn Leveling Sand:
- Particle Size: It should have larger grains than fine play sand or builder’s sand. Larger grains prevent the sand from compacting too tightly, which is crucial for allowing air and water to penetrate to the grass roots.
- Washed: The sand should be washed to remove fine silt and clay particles. Excess fines can clog soil pores, hindering drainage and aeration.
- Free of Organic Matter: Look for sand that is free from dirt, debris, or organic material, which can decompose and create an uneven surface over time.
Types of Sand to Avoid:
- Play Sand: While soft for sandboxes, play sand is very fine and can compact heavily, suffocating grass roots and leading to poor drainage.
- Builder’s Sand: This can vary greatly in quality. Some builder’s sand can be too fine and contain too many impurities. Always opt for washed and coarser varieties if you go this route.
- Salt or Ice Melt: Never use these materials for leveling; they are toxic to plants and will damage your lawn.
Sand vs. Soil for Leveling: When to Use What
While sand is excellent for filling shallow depressions, you might need a different approach for deeper holes.
- Shallow Dips (1/2 inch to 1 inch deep): Top dressing sand is ideal here. You’ll be applying a thin layer that will mix with the existing soil and allow grass to grow through.
- Deeper Holes (1 inch or more): For deeper depressions, it’s best to use a mixture of topsoil and sand. A common ratio is 70% topsoil and 30% coarse sand. This provides the necessary nutrients and structure for grass to grow robustly while the sand ensures good drainage. Filling deep holes with pure sand can create a “bathtub effect,” where water collects and drowns the grass.
Calculating Your Sand Needs: Precision is Key
Now, let’s get down to the numbers. Calculating sand for lawn requires measuring the area you need to level and estimating the depth of the depressions.
Step 1: Measure the Area
Determine the length and width of the specific areas you need to level.
- For a small dip, you might just measure its length and width.
- For a larger section, measure the overall dimensions.
Formula: Area (square feet) = Length (feet) × Width (feet)
Step 2: Estimate the Depth
This is the trickiest part. You need to gauge how deep the low spots are.
- Visual Inspection: Look at your lawn from different angles.
- Using a Straight Edge: Place a long, straight board or level across the uneven area. The gap between the board and the ground indicates the depth. Measure the deepest part of the dip.
- Average Depth: If you have multiple dips of varying depths, try to estimate an average depth for the entire area you plan to cover.
Step 3: Convert Depth to Cubic Feet or Cubic Yards
Sand is sold by volume, typically in cubic feet or cubic yards.
- Convert inches to feet: Since your area is in square feet, you need your depth in feet. Divide the depth in inches by 12.
- Example: A 1-inch dip is 1/12 feet. A 2-inch dip is 2/12 or 1/6 feet.
Formula: Volume (cubic feet) = Area (square feet) × Depth (feet)
Step 4: Convert Cubic Feet to Cubic Yards
Most bulk sand is sold by the cubic yard. There are 27 cubic feet in 1 cubic yard.
Formula: Volume (cubic yards) = Volume (cubic feet) / 27
Using a Table for Quick Reference
To make calculating sand for lawn easier, here’s a table showing how much sand is needed for a 1-inch layer over various square footages. Remember, you’ll adjust these figures based on the actual depth of your depressions.
| Area (sq ft) | Volume for 1-inch layer (cu ft) | Volume for 1-inch layer (cu yd) |
|---|---|---|
| 100 | 8.33 | 0.31 |
| 200 | 16.67 | 0.62 |
| 500 | 41.67 | 1.54 |
| 1000 | 83.33 | 3.09 |
| 2000 | 166.67 | 6.17 |
| 5000 | 416.67 | 15.43 |
| 10000 | 833.33 | 30.86 |
Example Calculation:
Let’s say you have a section of lawn that is 10 feet by 20 feet (200 sq ft) and the dips are, on average, 1.5 inches deep.
- Area: 10 ft × 20 ft = 200 sq ft
- Depth in feet: 1.5 inches / 12 inches/foot = 0.125 feet
- Volume in cubic feet: 200 sq ft × 0.125 ft = 25 cubic feet
- Volume in cubic yards: 25 cubic feet / 27 cubic feet/yard = 0.93 cubic yards
So, for this area, you would need just under 1 cubic yard of sand. It’s always a good idea to buy a little extra to account for any estimation errors or if you find more areas needing attention.
A Practical Guide to Sand Coverage
Understanding sand coverage for lawn is also about visualizing the amount. A cubic yard of sand is roughly equivalent to:
- A large pickup truck bed filled to the brim.
- About 10-12 large bags of play sand (though remember, we recommend coarser sand).
Bagged Sand vs. Bulk Sand:
- Bagged Sand: Typically sold in 50 lb bags (approximately 0.5 cubic feet) or larger bulk bags (often 1 cubic yard). Buying in bulk from a landscape supplier is usually more cost-effective for larger projects.
- Bulk Sand: Delivered by a truck, this is the most economical option for significant leveling jobs.
How to Apply Sand to Your Lawn: The Step-by-Step Process
Proper applying sand to lawn is crucial for achieving the desired results without harming your grass.
Step 1: Gather Your Tools
You’ll need:
- Your chosen sand (coarse, washed sand or a topsoil/sand mix for deeper areas).
- Shovel.
- Garden rake (a metal rake is best).
- Spreader (optional, for very light applications).
- Wheelbarrow (if buying bulk).
- Hose or watering can.
Step 2: Prepare the Area
- Mow your lawn to a shorter height. This makes it easier to work and allows the sand to reach the soil surface.
- Remove any weeds or debris from the low spots.
Step 3: Apply the Sand
This is where your calculations come into play.
For Shallow Depressions (using Lawn Leveling Sand):
- Spread the Sand: Using a shovel and wheelbarrow, spread a thin layer of sand over the low spots. Aim for no more than 1/2 inch to 1 inch of sand at a time. It’s better to apply multiple thin layers over time than one thick layer.
- Rake it In: Use your garden rake to gently work the sand into the existing soil and grass. Brush the sand back and forth. The goal is to lightly mix the sand with the top layer of soil and ensure the grass blades can still reach sunlight.
- Water Gently: Lightly water the area to help settle the sand.
For Deeper Holes (using Topsoil/Sand Mix):
- Fill with Mix: Use your shovel and wheelbarrow to fill the deeper holes with your 70% topsoil, 30% sand mixture. Don’t overfill; aim to bring the level up to the surrounding lawn.
- Rake Smooth: Use the rake to smooth the surface of the fill material, ensuring it’s flush with the rest of the lawn.
- Water Thoroughly: Water the area well to help the new soil settle.
Step 4: Overseeding (Optional but Recommended)
If you’ve applied a significant amount of sand or a soil/sand mix, the grass in that area might be disturbed or thin.
- After raking the sand and before watering, you can lightly scatter grass seed over the leveled areas.
- Gently rake the seed into the top layer of sand/soil.
- Keep the seeded area consistently moist until the new grass germinates and establishes.
Step 5: Patience and Repeat Applications
- Allow Grass to Grow: Let the grass grow through the sand layer. It might take a few weeks.
- Repeat if Necessary: For stubborn low spots, you may need to repeat the leveling process a few times over the growing season, applying thin layers of sand gradually. This allows the grass to adapt and prevents suffocating it with a single, thick application.
Common Mistakes to Avoid When Leveling with Sand
- Applying Too Much Sand at Once: This is the most common error. Thick layers of sand can smother grass, block sunlight, and impede water and air flow. Always aim for thin, gradual applications.
- Using the Wrong Type of Sand: Fine sand or play sand will compact and create drainage problems. Stick to coarse, washed sand.
- Not Raking Properly: Simply dumping sand on the lawn without working it into the existing soil is ineffective and can smother the grass.
- Ignoring Drainage: If your lawn has persistent low spots due to poor drainage, simply adding sand might not be enough. You may need to address underlying drainage issues.
- Filling Deep Holes with Pure Sand: As mentioned, this can lead to poor grass growth. Use a topsoil and sand mix for deeper areas.
When to Level Your Lawn
The best times to undertake lawn leveling projects are during the active growing seasons when your grass is most resilient:
- Spring: After the last frost, when the grass is beginning to green up.
- Fall: In early to mid-fall, giving the grass time to recover and establish before winter.
Avoid leveling during periods of extreme heat, drought, or when the grass is dormant.
Frequently Asked Questions About Lawn Leveling Sand
Q1: Can I use sand to level my entire lawn?
A1: While sand is excellent for filling minor depressions, it’s not typically recommended for leveling an entire lawn unless the problem is extremely minor. For broader leveling, a combination of topsoil and sand, or even professional grading, might be more appropriate. Continuous application of sand can alter the soil composition significantly.
Q2: How often should I add sand to my lawn?
A2: Lawn leveling with sand is usually an intermittent process. You’ll likely only need to do it when you notice new dips or worsening of existing ones. Avoid adding sand routinely every year unless your lawn has specific settling issues.
Q3: Will sand kill my grass?
A3: If applied correctly in thin layers and mixed with the existing soil, sand will not kill your grass. However, applying thick layers of the wrong type of sand can smother the grass, block sunlight, and prevent air and water from reaching the roots, which can lead to grass death.
Q4: How do I know if I’m using the right amount of sand?
A4: You’re using the right amount if you can still see a significant amount of green grass blades poking through the sand after raking. If the sand completely covers the grass, you’ve likely applied too much in that spot.
Q5: What is the difference between top dressing sand and leveling sand?
A5: Generally, these terms are used interchangeably for the purpose of leveling. “Top dressing sand” emphasizes applying a thin layer on top to improve the surface, while “lawn leveling sand” highlights its function in filling dips. Both refer to using coarse, washed sand.
Q6: My lawn has really deep holes. What should I do?
A6: For deep holes (more than 1-2 inches), it’s best to use a mixture of good quality topsoil and coarse sand (e.g., 70% topsoil, 30% sand). Fill the hole with this mixture, level it with the surrounding lawn, and then overseed and water. Pure sand in deep holes can create poor drainage.
Q7: Do I need to fertilize after leveling with sand?
A7: If you’ve applied a thin layer of sand to existing grass, fertilization isn’t usually necessary immediately unless your soil is severely nutrient-deficient. If you’ve used a topsoil/sand mix or overseeded, a starter fertilizer can be beneficial for the new grass growth.
By following these guidelines, you can confidently tackle those pesky lawn imperfections and achieve the smooth, even, and beautiful lawn you desire. Remember that patience and consistent, thin applications are key to success!